
Configure Account and Create a Billing Alarm
Account Configuration
- Configure Account Alias
- This is a way that we can sign in easily using the alias, which is going to be a name that we decide instead of using an account number
- Enable access to billing for IAM users
- Only the root user can ever update or view information for billing
- Update billing preferences
- Create a billing alarm
- The billing alarm is going to send you an email if you reach a certain threshold, so you can set it to $5 for example and if you do forget to turn something off, then you’re going to get that warning.
- Confirm SNS (Simple Notification Service) subscription
Now, for this course, for the most part, we’re going to be using US-East-1 North Virginia, so make sure you have your console set to North Virginia.

Go up to Services and you’ll see a whole list of services under the various categories.
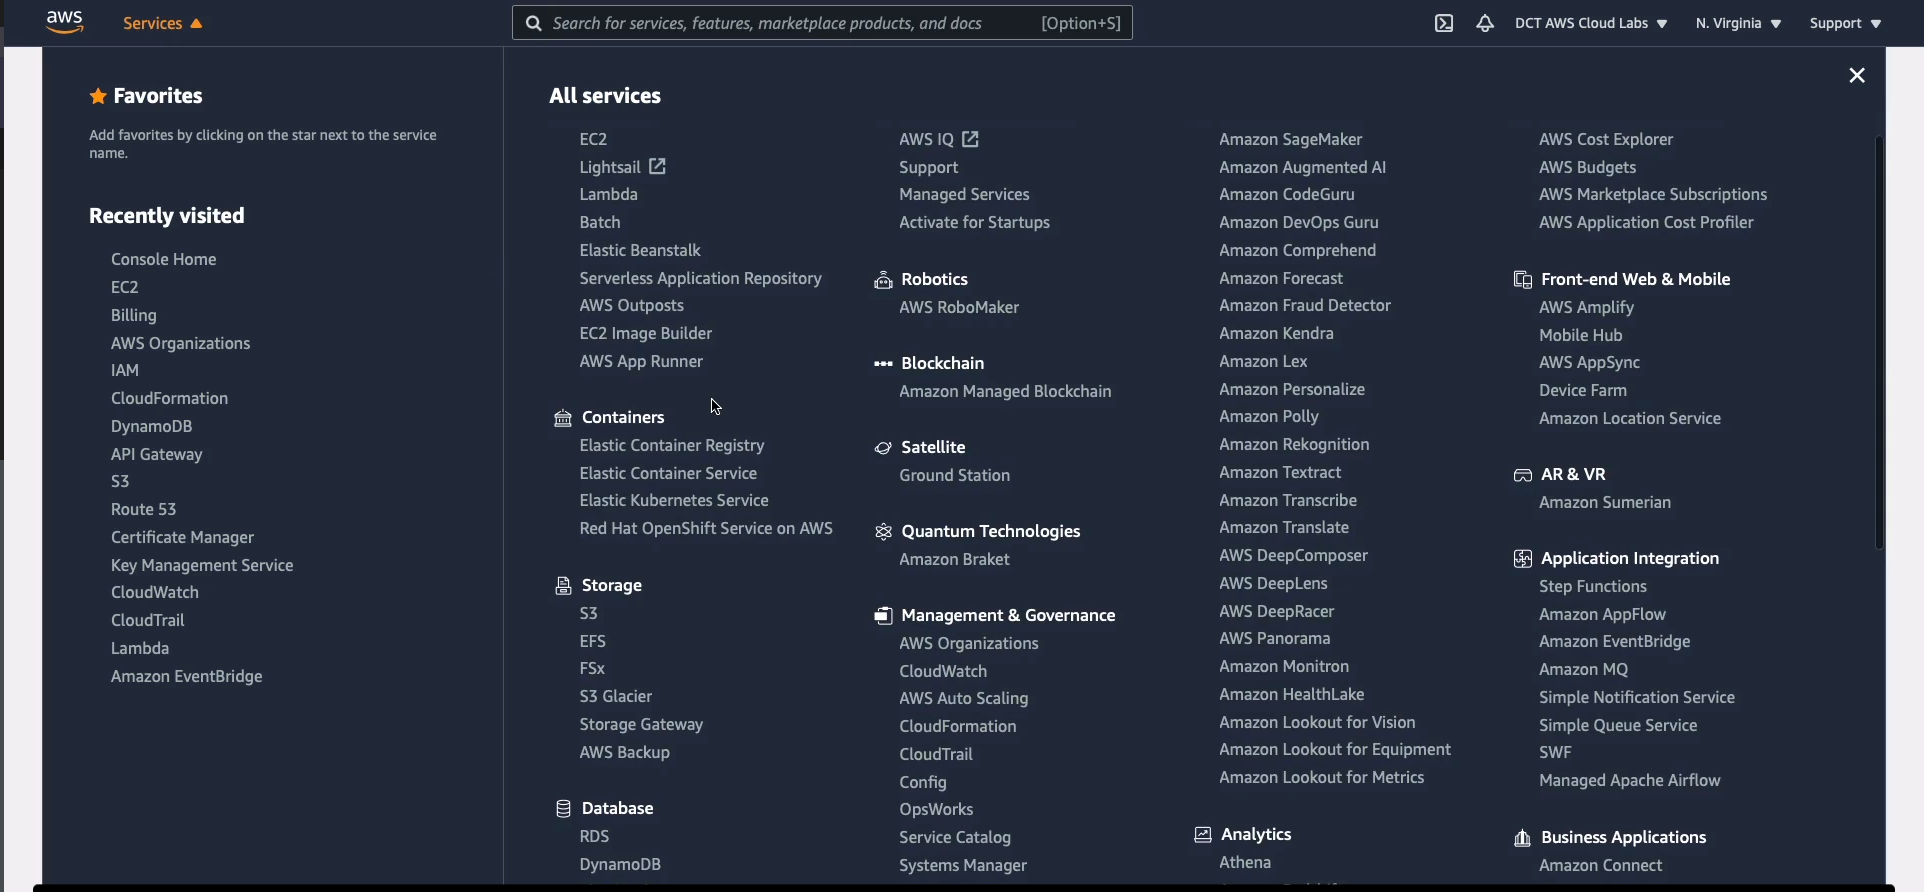
Scroll down to where we have Security, Identity & Compliance and choose IAM. This is the main page for the Identity and Access Management service.
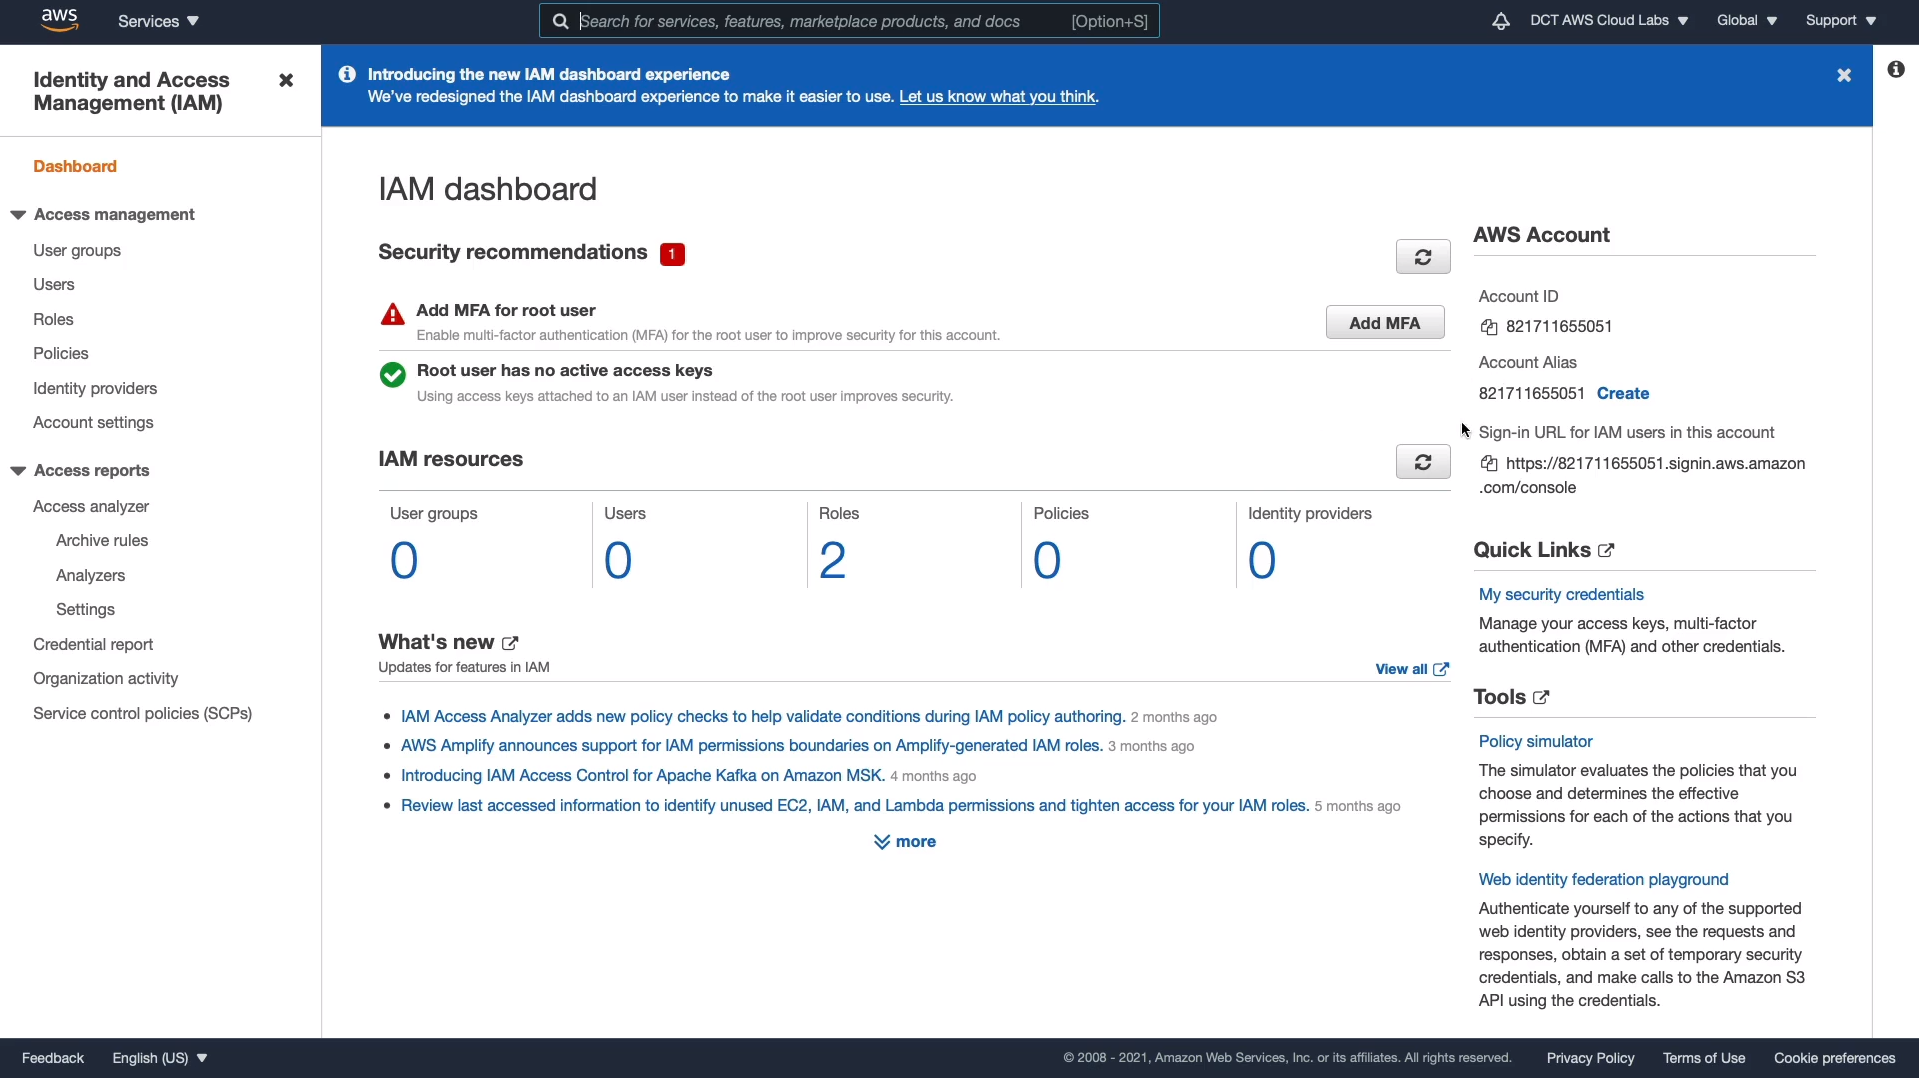
The Account Alias is the same as the Account’s ID and it’s just a long number. Create an alias that’s much easier to remember and save changes.
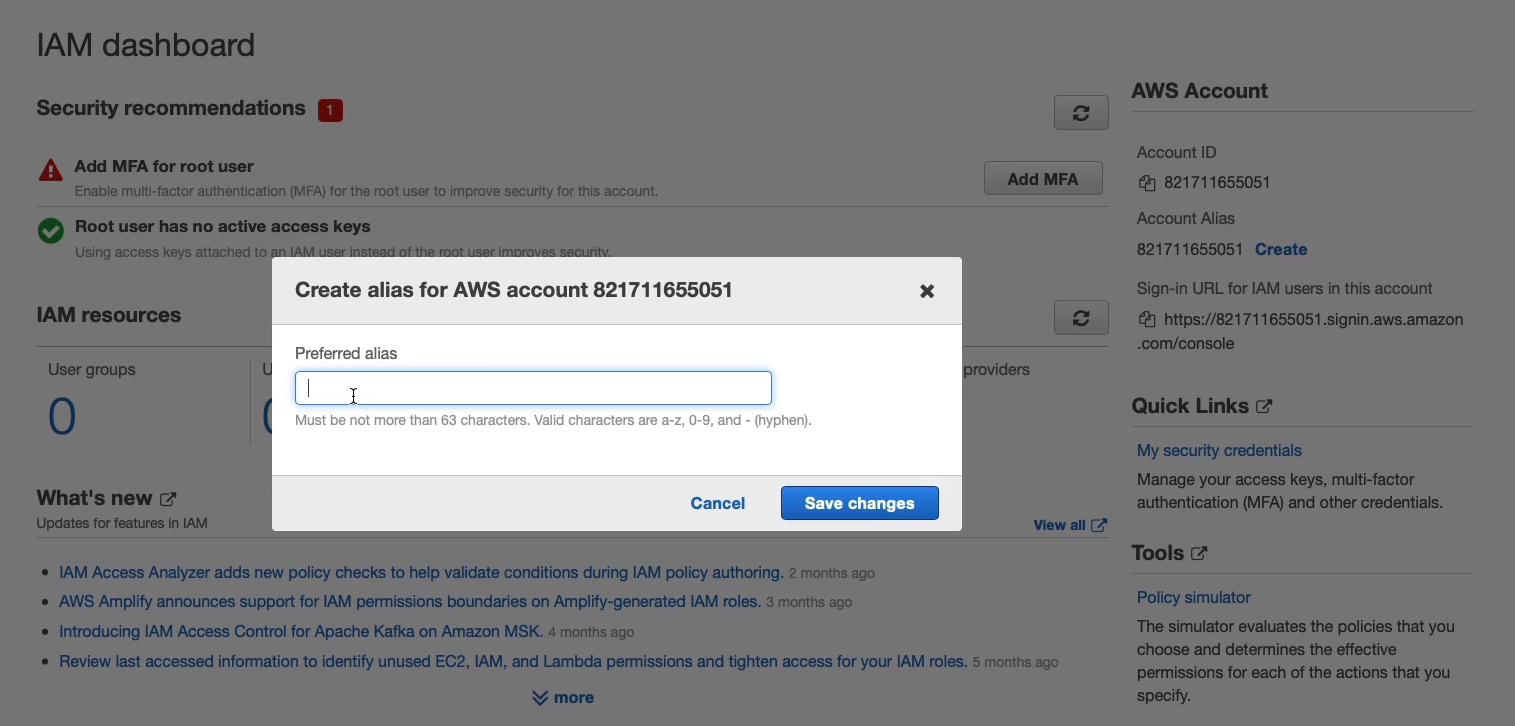
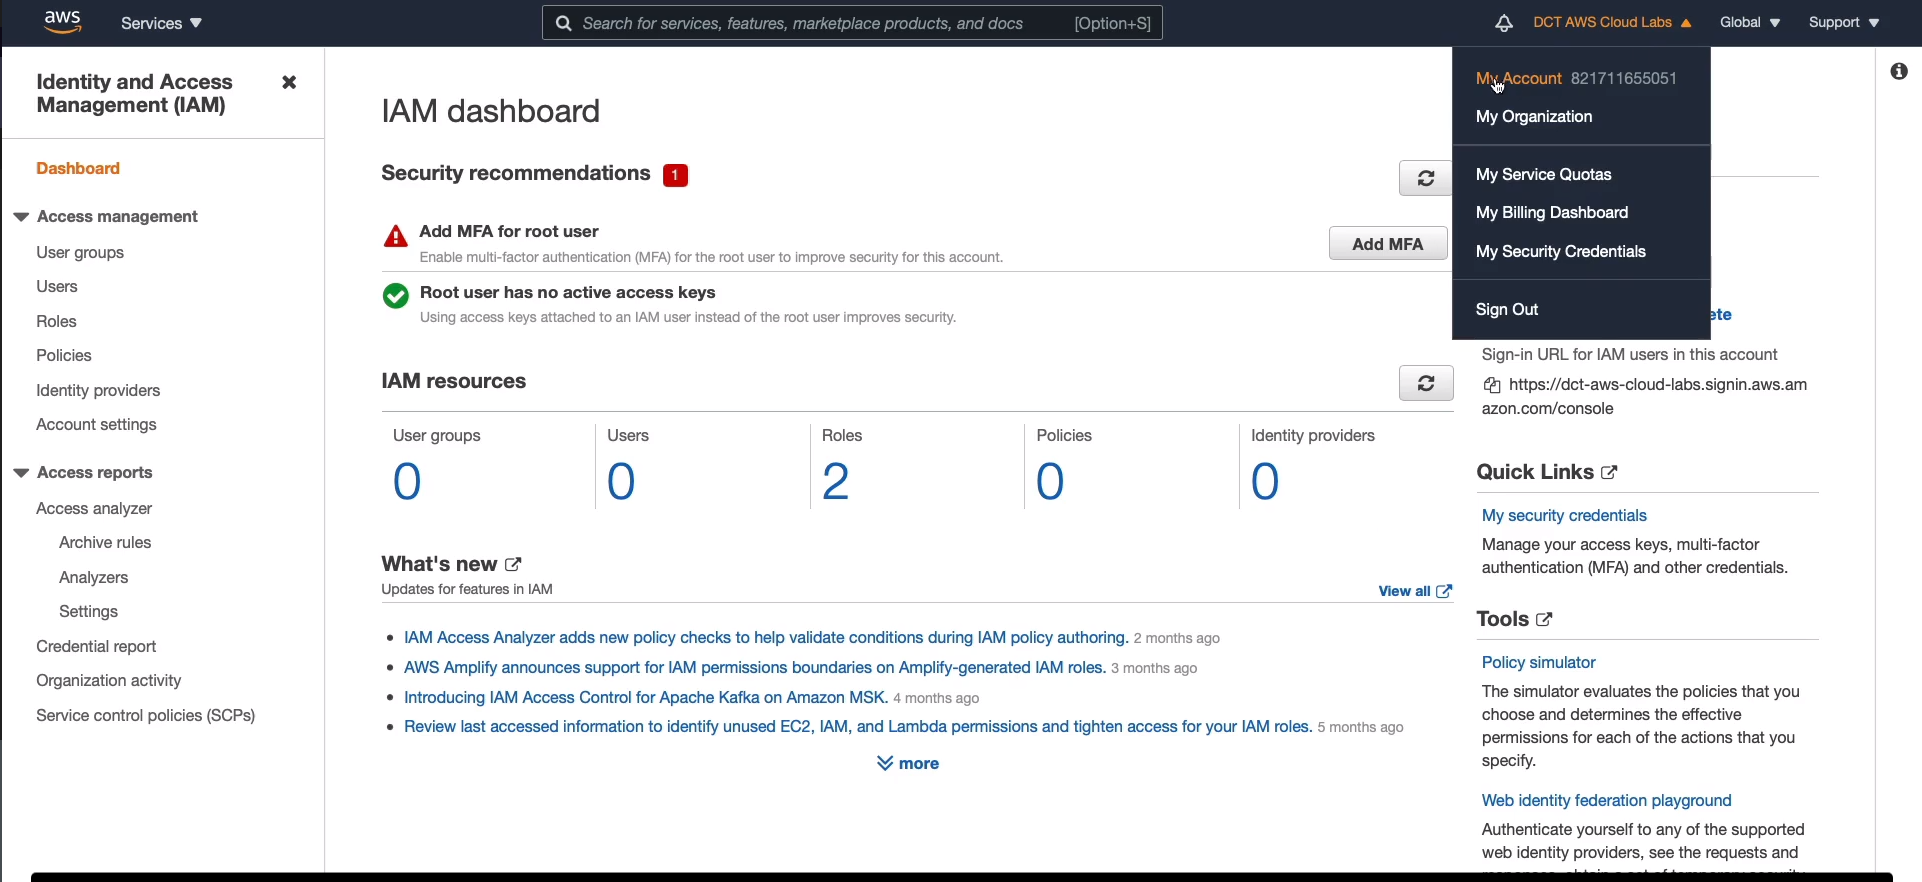
And now it’s created the alias for me and that means that next time we log in with an IAM user account and it’s going to ask for either the account’s ID or the account alias, it’s going to be much easier to remember the account alias. The next thing we’re going to do is to update our billing information and who can actually access billing information. So in the top right-hand corner here underneath my account name, I’m going to select My Account.
Scroll right the way down to where we can see IAM User and Role Access to Billing Information.
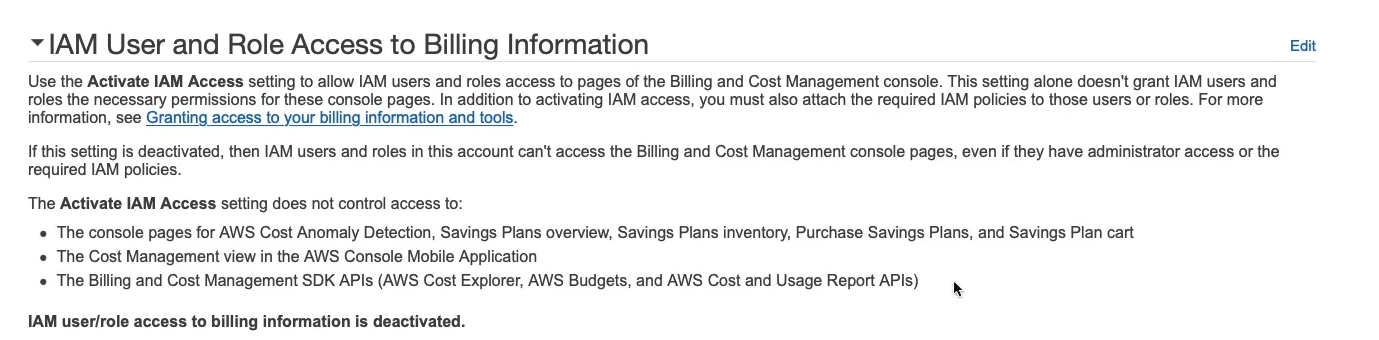
Click on Edit > Activate IAM Access and then Update.

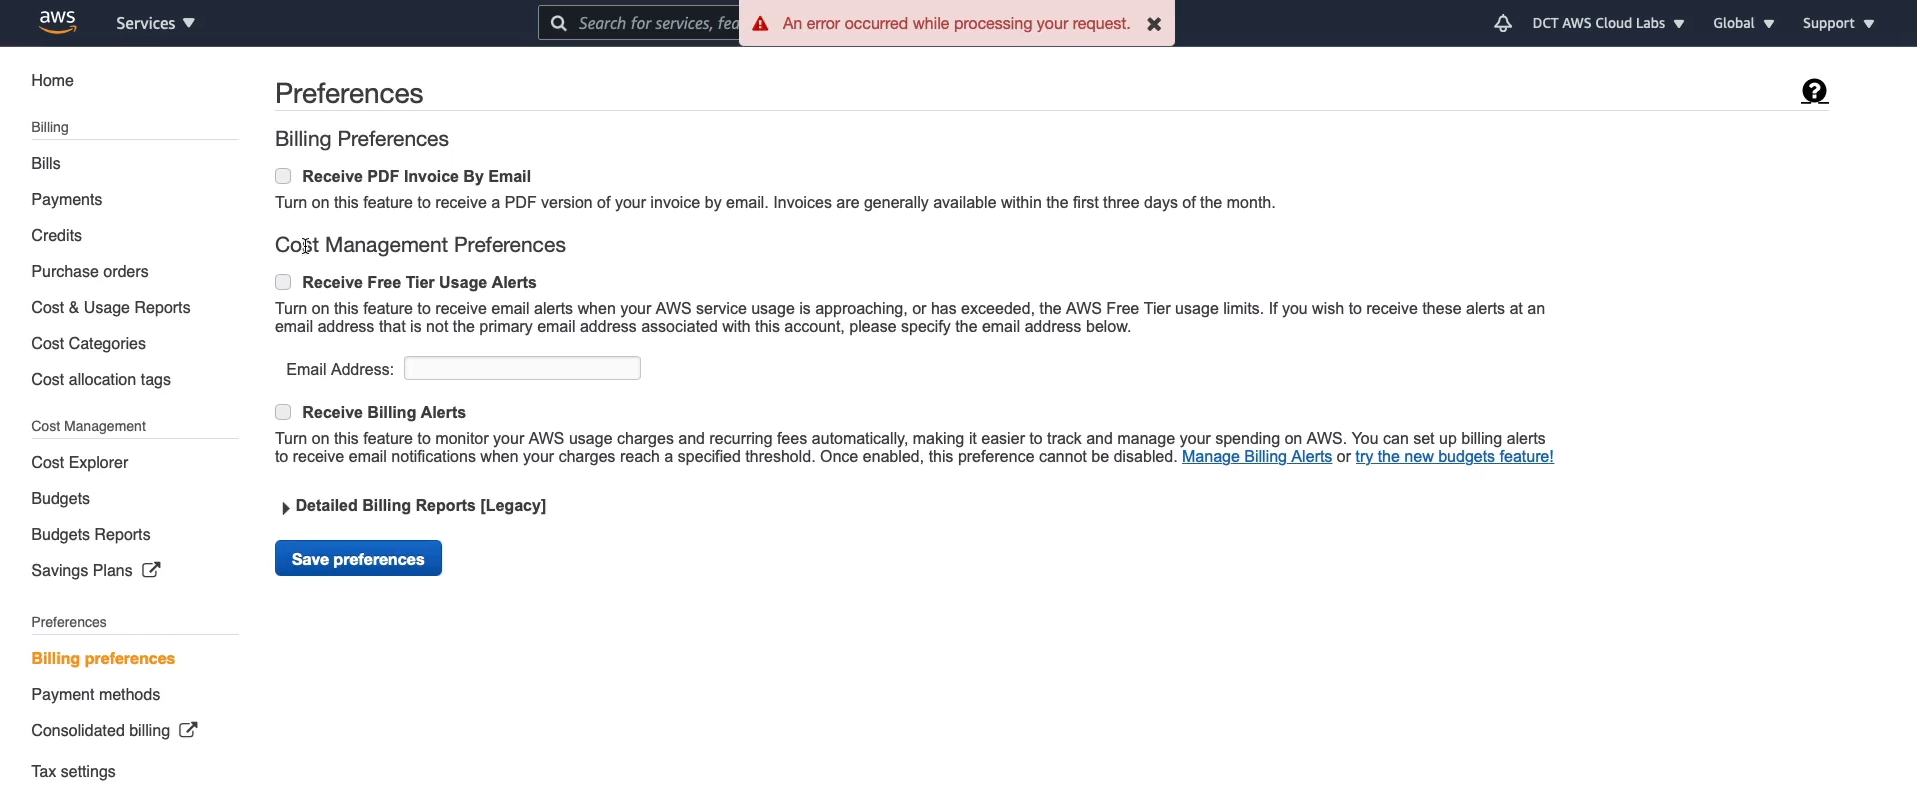
Back at the top of the screen, we’re then going to choose Billing preferences. Select all of these options here and save those preferences.
Set-up Billing Alarm
Click on Services and scroll down to Management & Governance and we’re going to find CloudWatch.
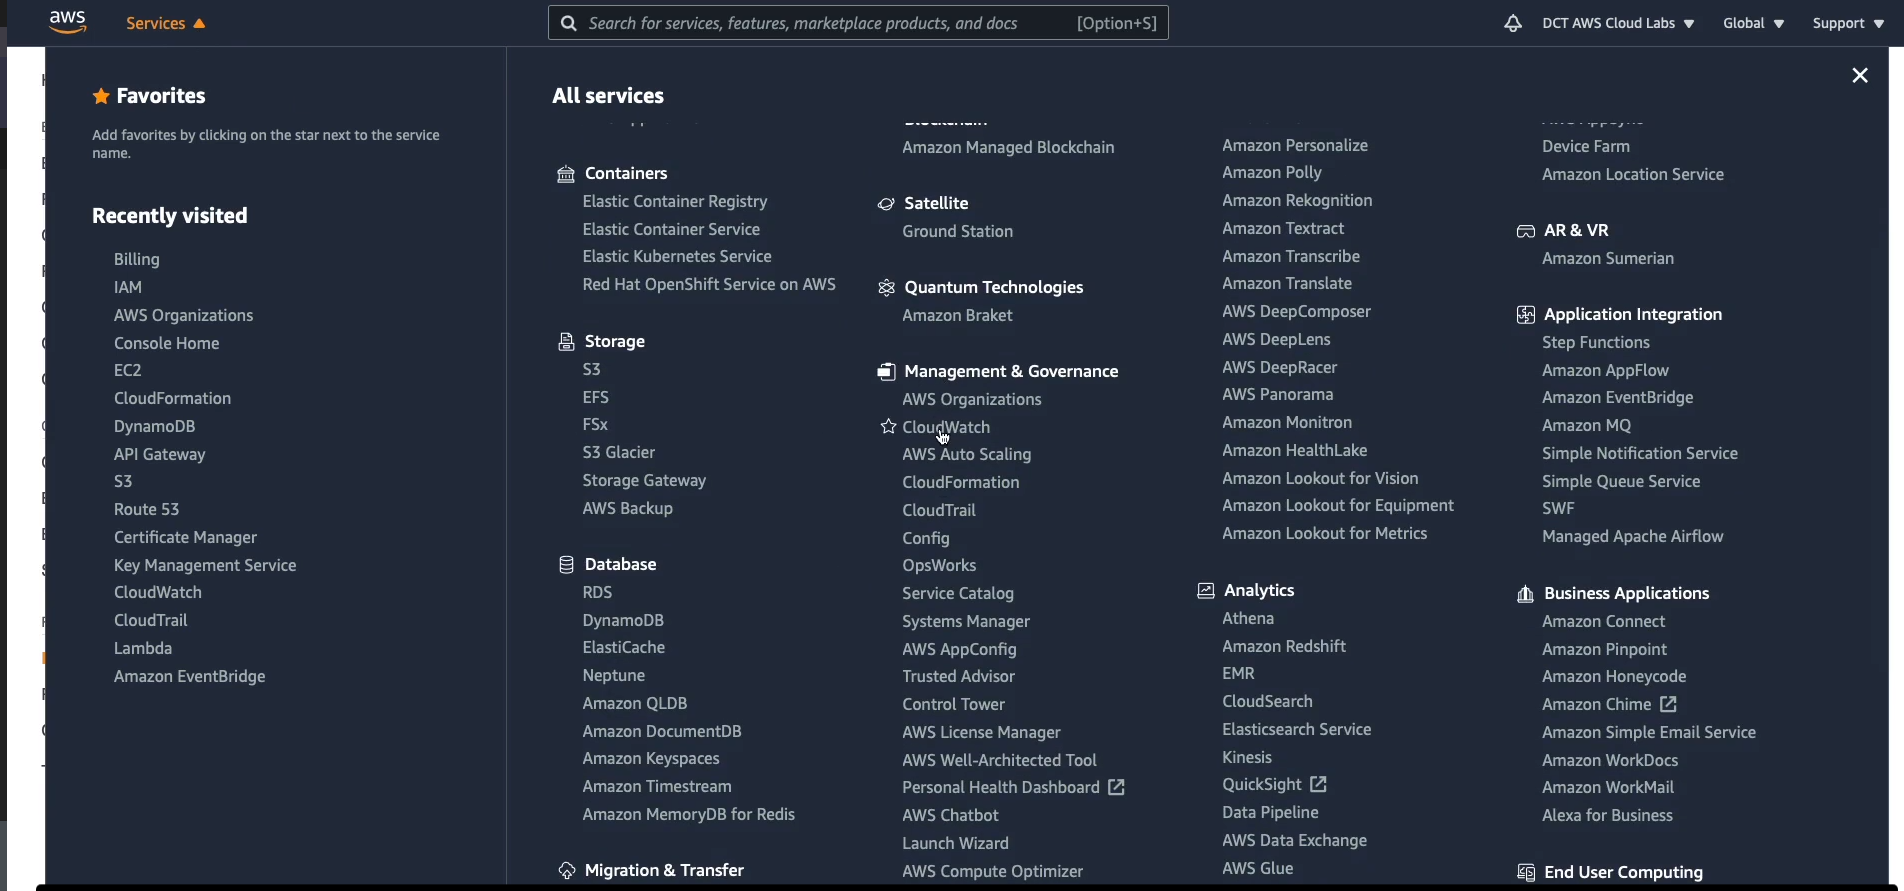
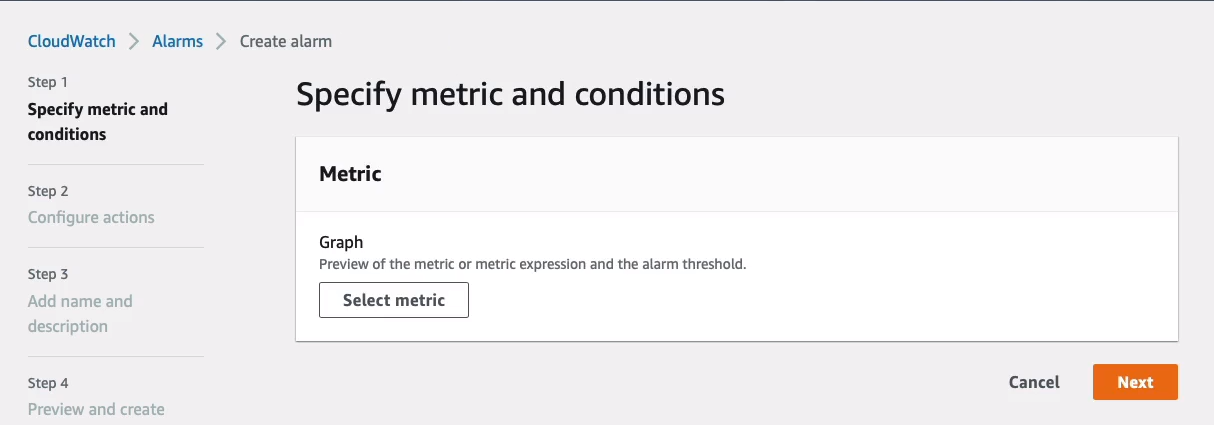
CloudWatch is a performance monitoring tool, and it receives information from our services including billing information. So we can use CloudWatch to monitor the billing information and then send us a notification using SNS when we reach the threshold we’ve defined. Again, make sure you’re in North Virginia. On the left-hand side, choose Billing, choose Create Alarm.
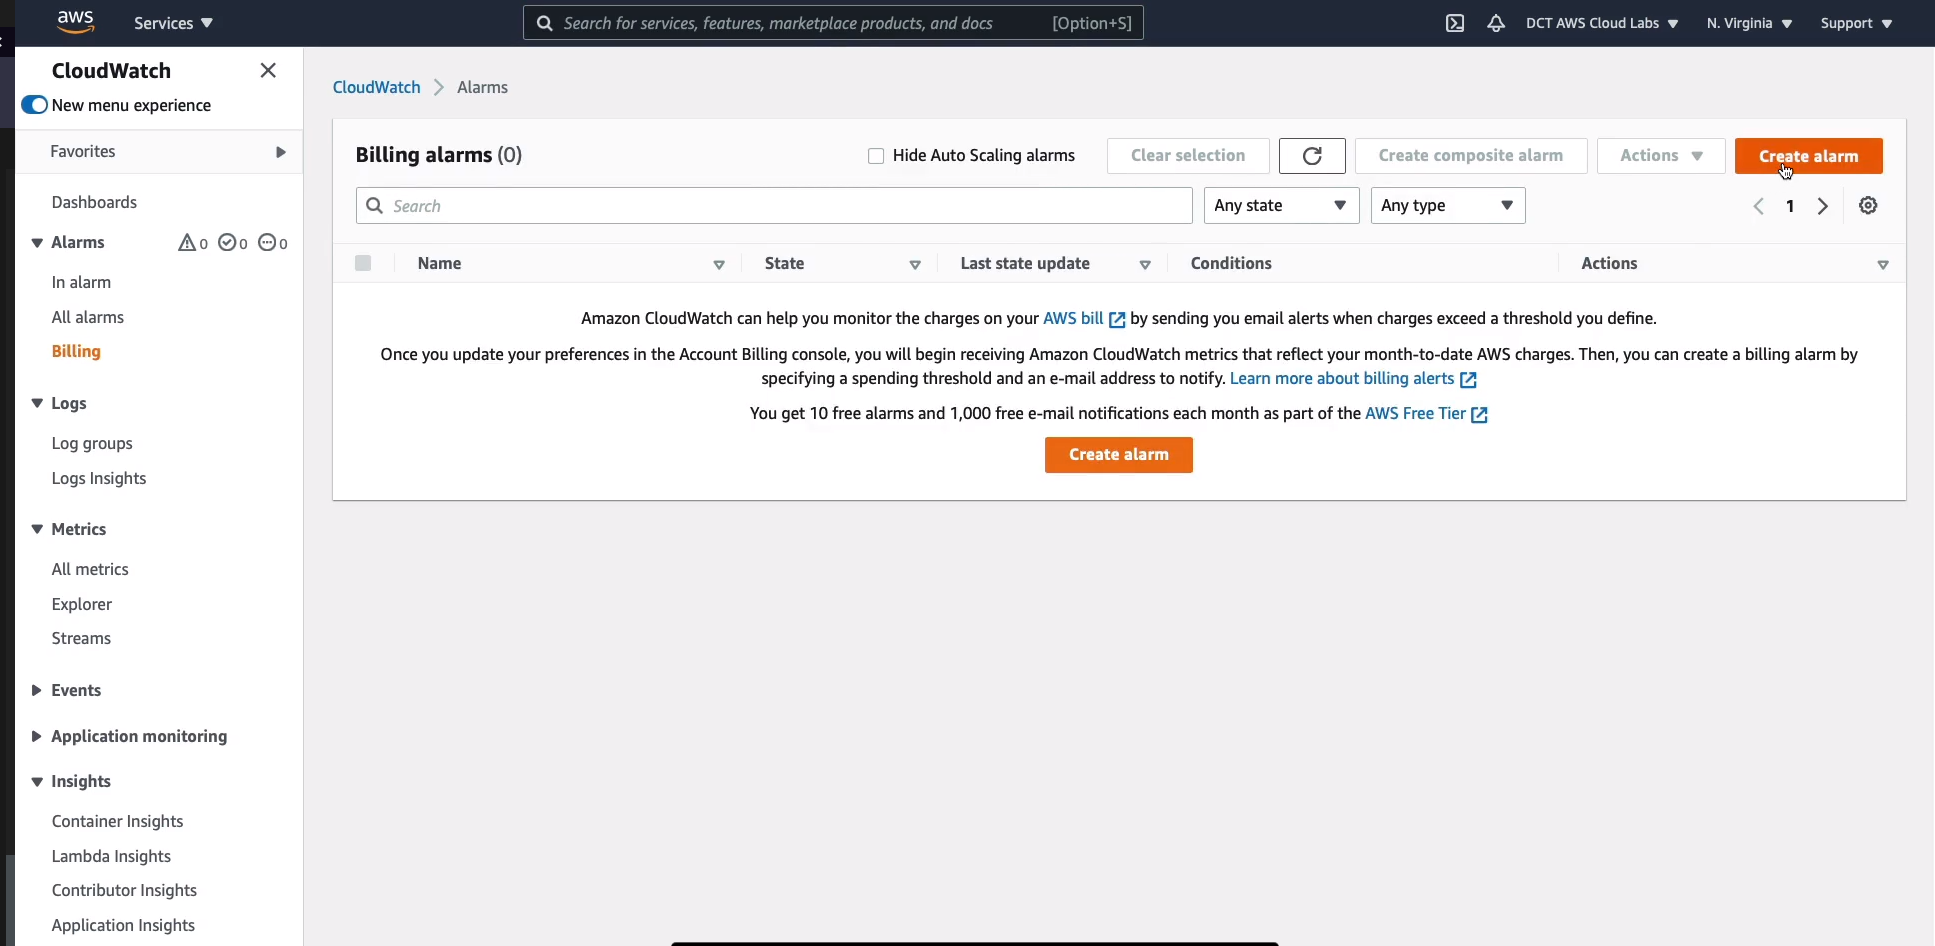
Click on the Select Metric
Under the Select metric, choose Billing
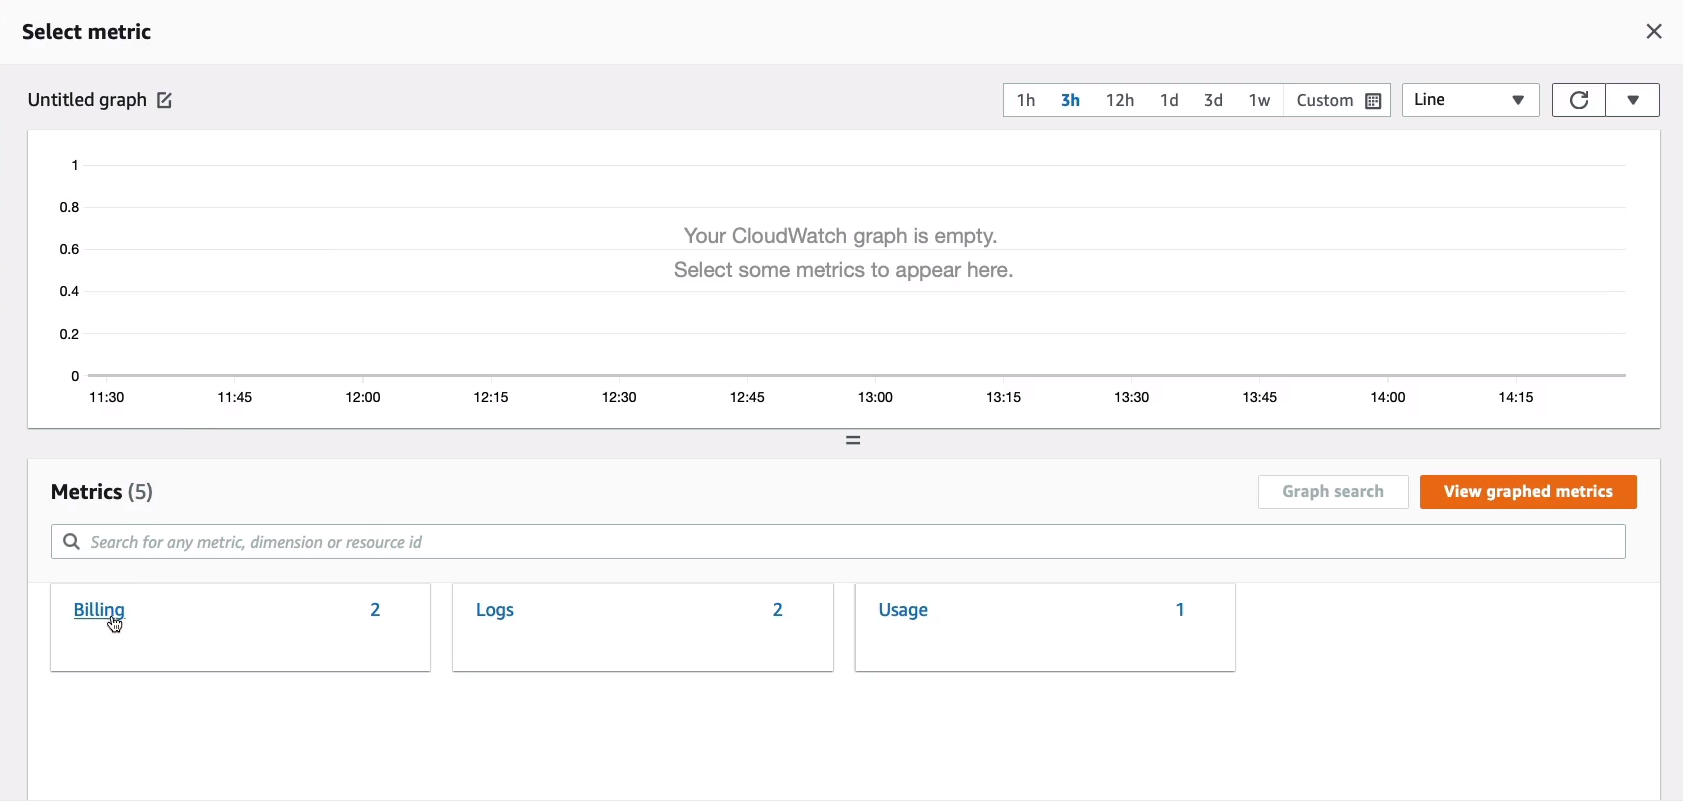
Click on the Total Estimated Charge
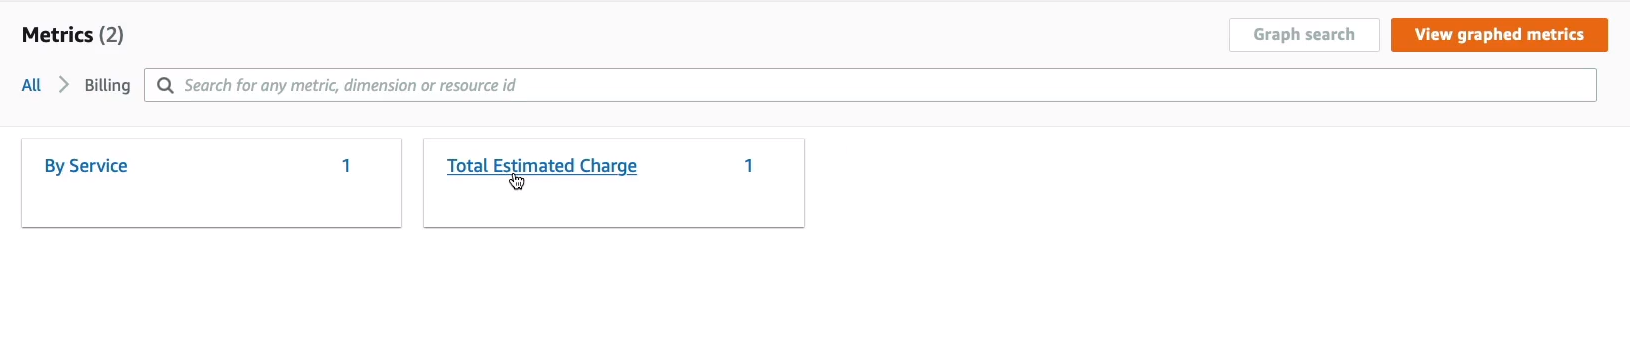
Select USD and then choose Select Metric at the bottom.

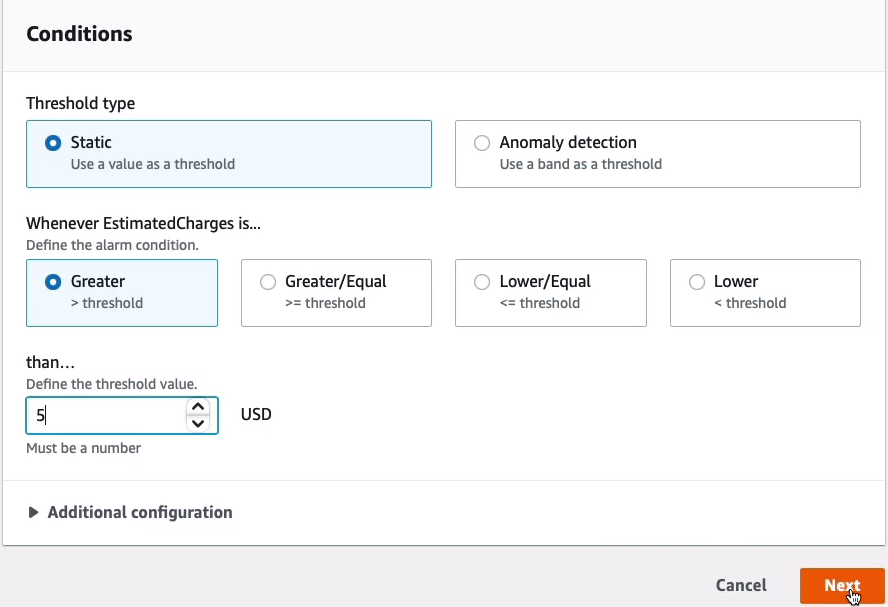
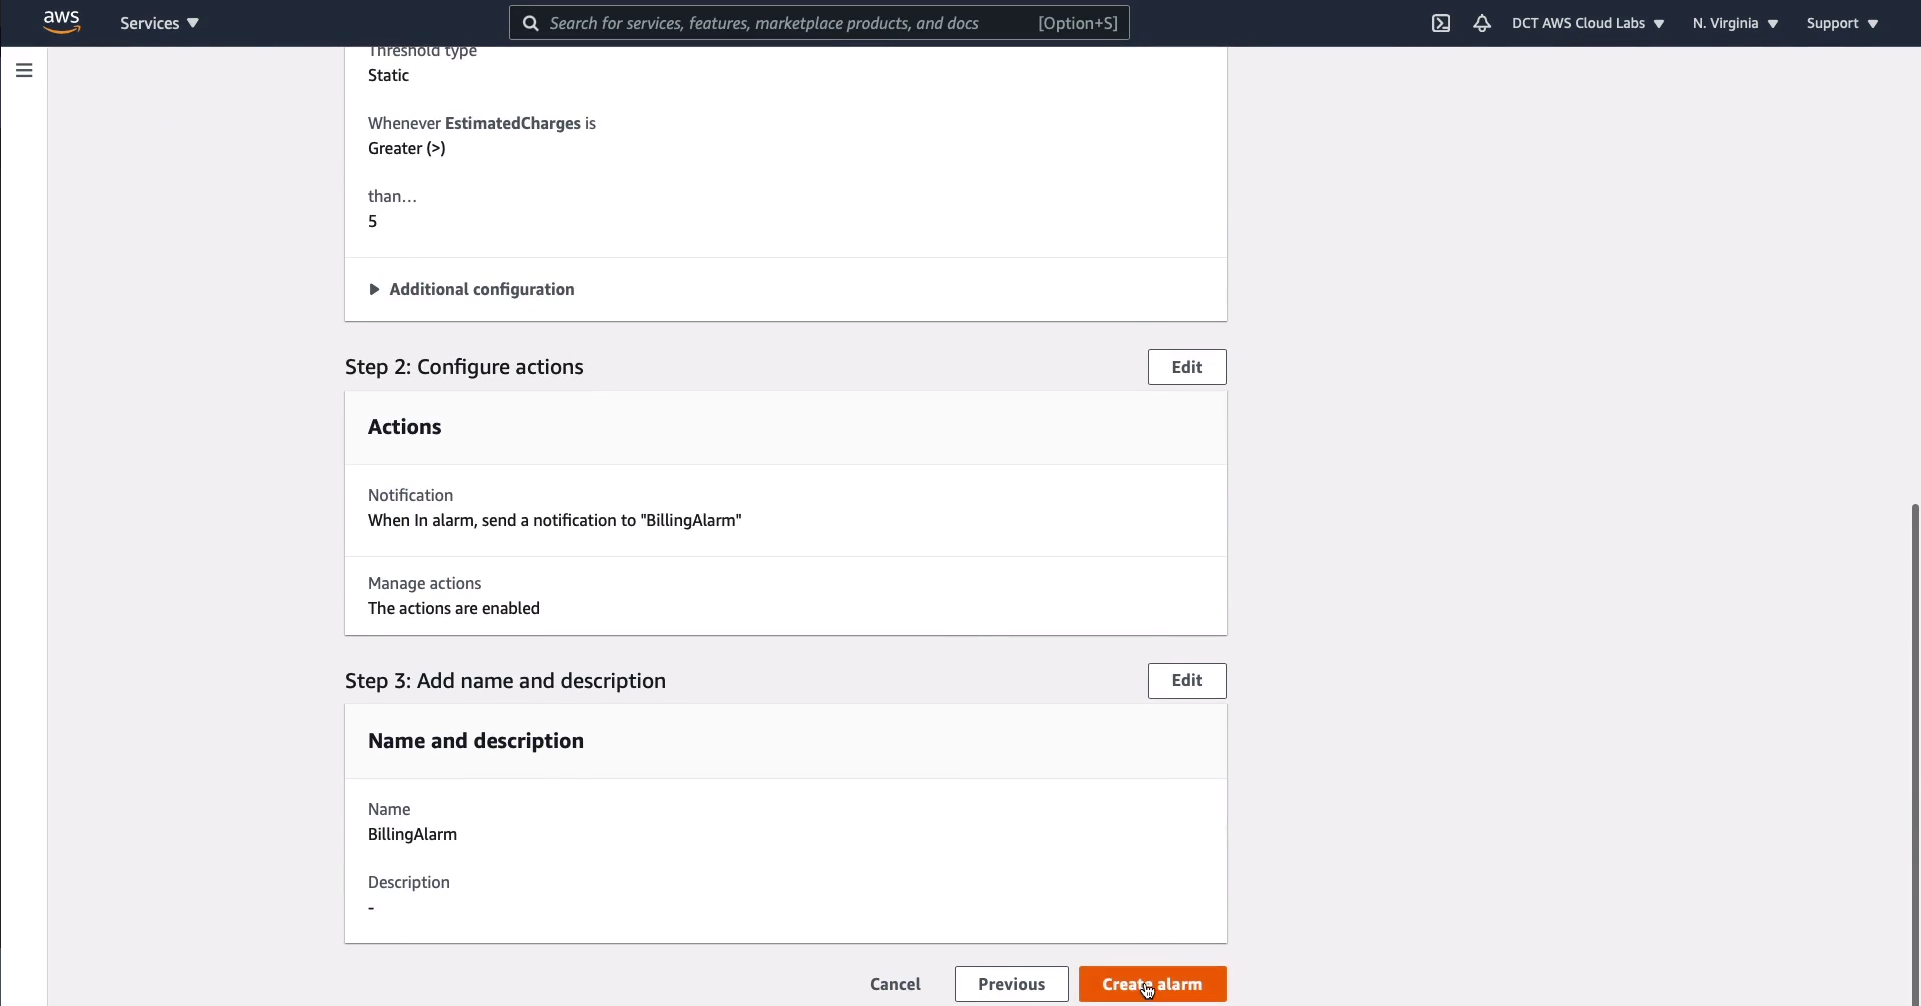
We can leave the defaults on this page, scroll down, and here where it says Whenever Estimated Charges is..., we want to have greater than a certain threshold. So for instance, you might want to set it to $5 or $10 or whatever you’re comfortable with. Click on Next.
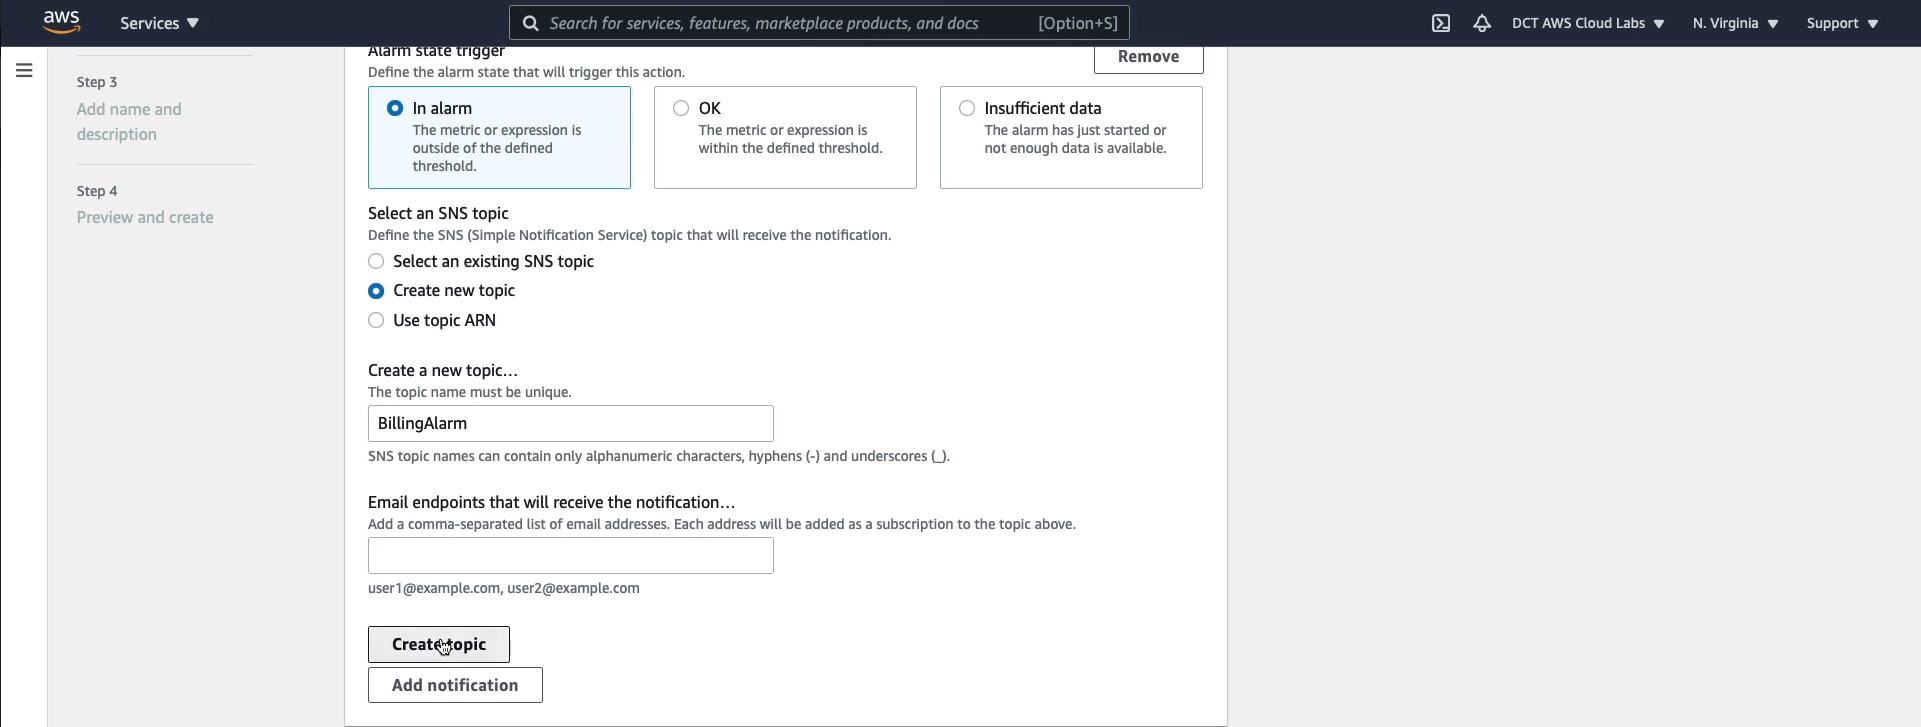
We now need to create the Simple Notification Service topic. This service is going to notify us by email when we exceed our threshold. So let’s choose Create new topic. We can give it a more descriptive name if we like. We can call it BillingAlarm and then you can add the Email endpoint and choose Create topic.
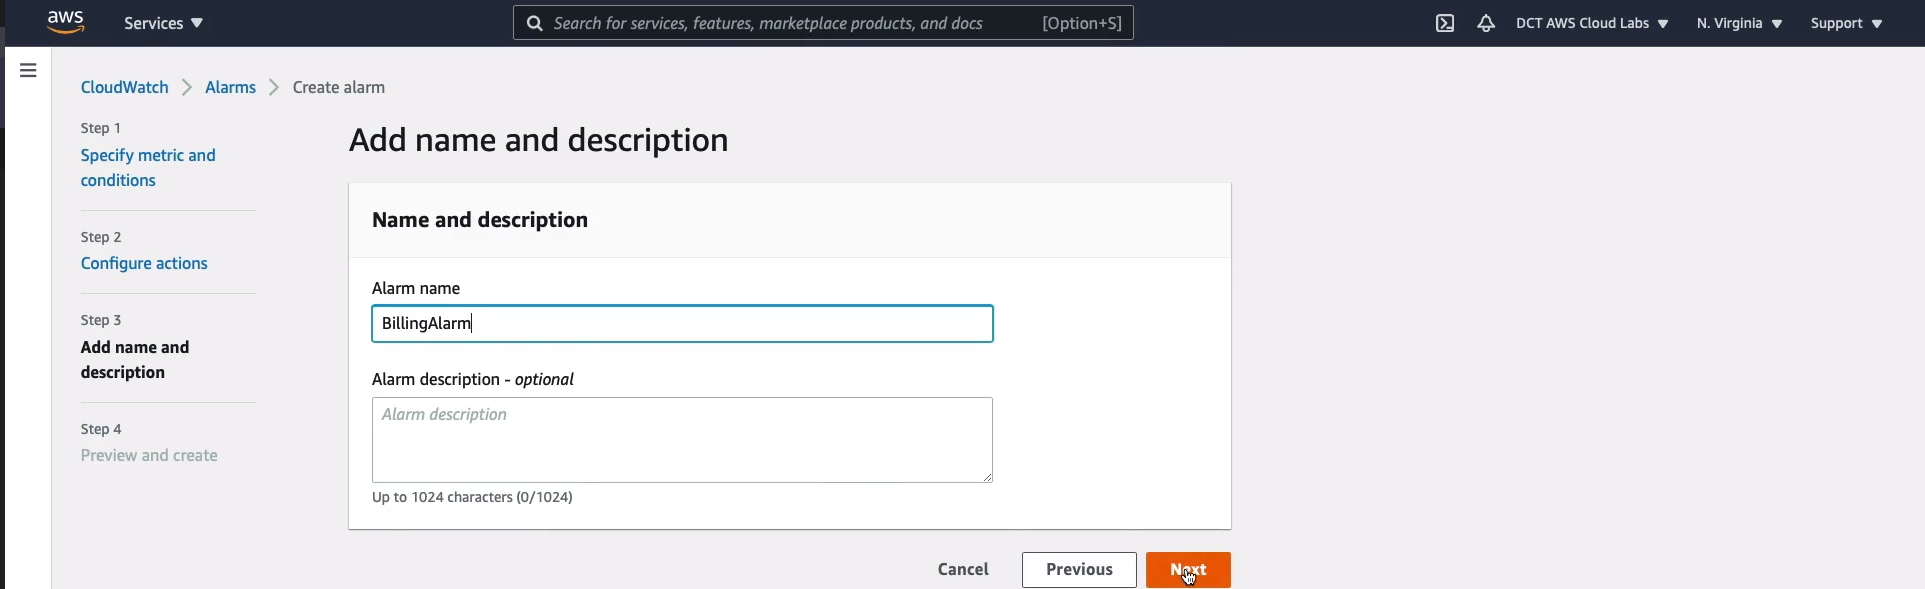
Scroll down to the bottom of the screen, click on Next. Give the alarm a name. I’ll also call that BillingAlarm and click on Next.
Scroll down and then just create the alarm by clicking Create alarm.
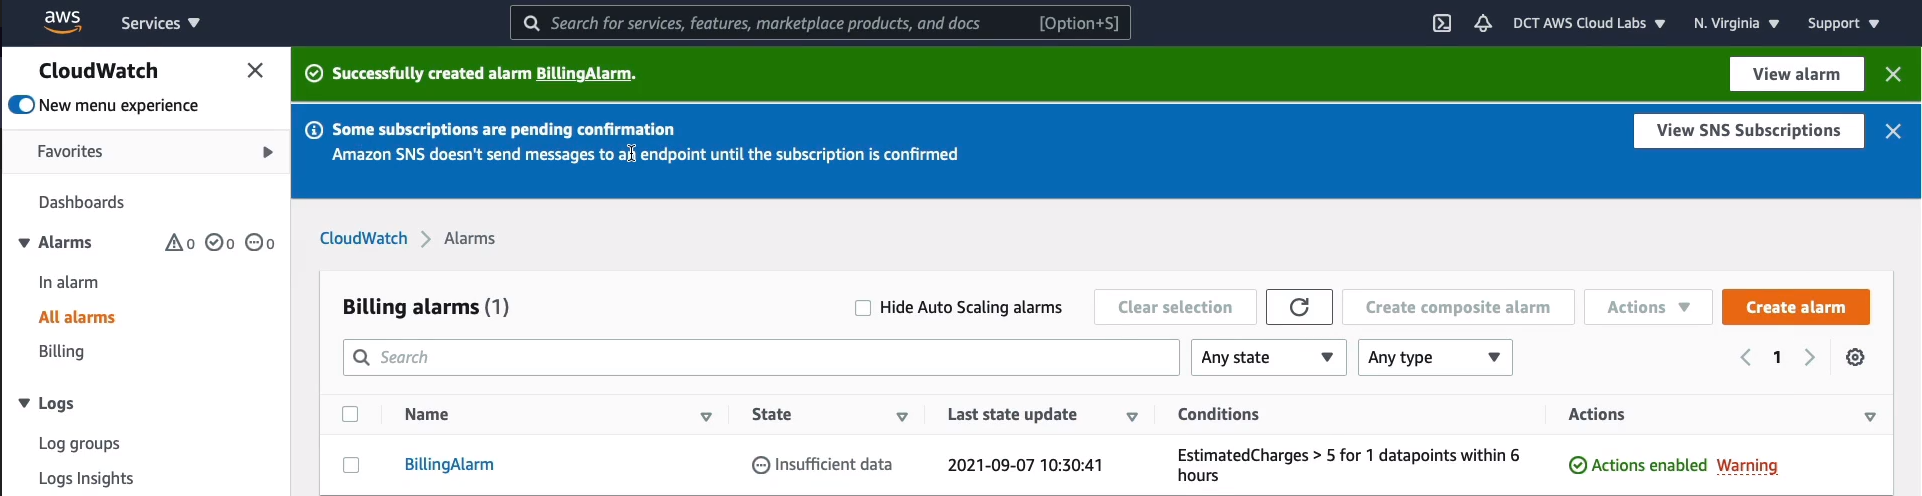
Now, the subscription is pending confirmation as the warning message tells you up here. So go to your email inbox, open up the email that you’ve received, and click on the link to confirm your subscription, and then your alarm will be ready to work.
Securing Your AWS Account
 https://aws.amazon.com/getting-started/guides/setup-environment/module-two/